Bottom watering vs top watering
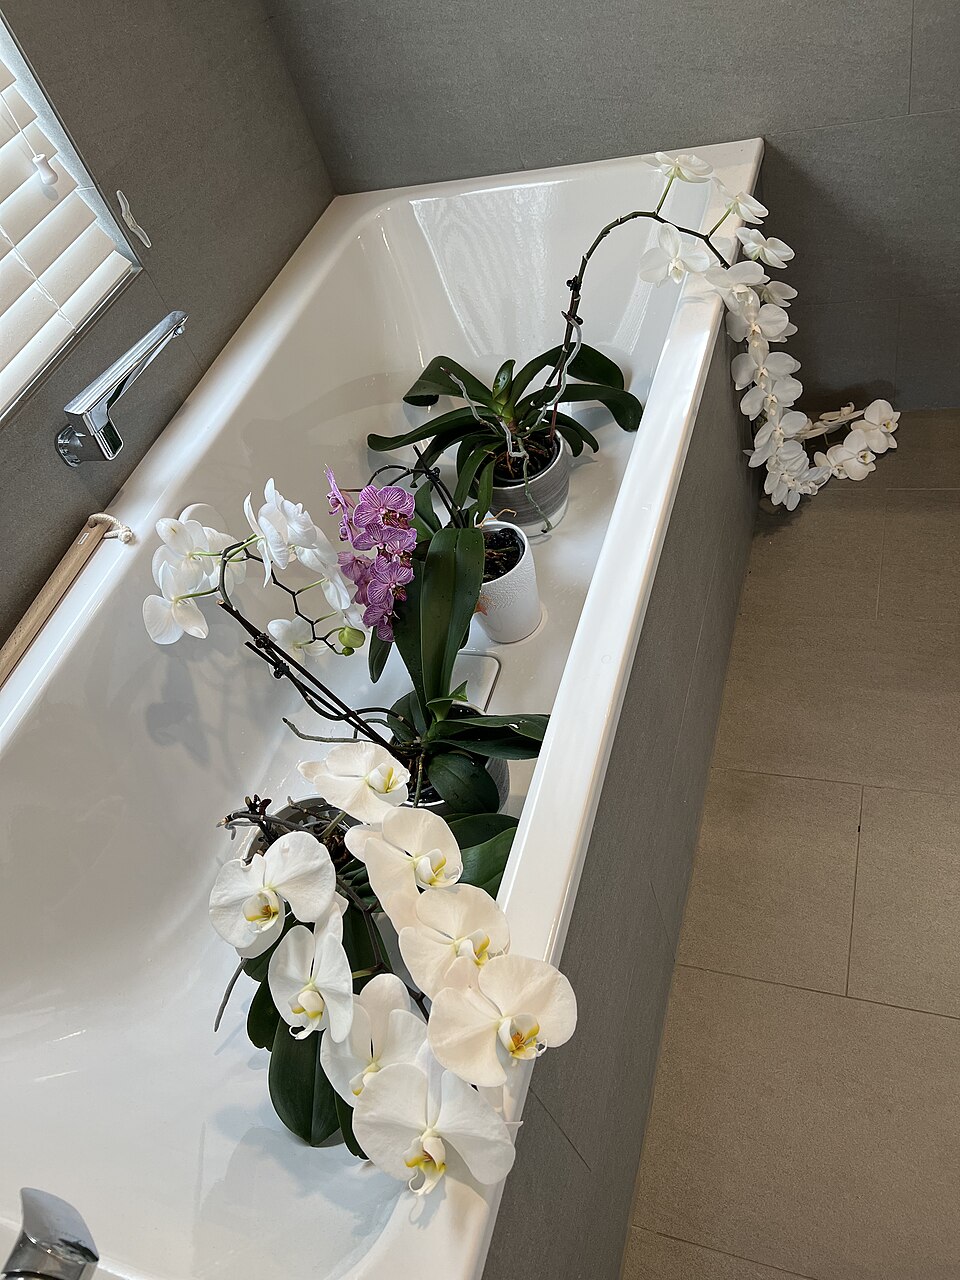
Most of us water plants the same way: pour water on the soil and let it run through. It is also possible to do it the other way round, setting the pot in water and letting the soil drink from below. Both work, and neither is "the right one". Each suits different plants and different situations, and the best routine usually uses both.
This guide explains how each one works, what each is good and bad at, and a simple way to combine them.
Top watering
This is the usual way. You pour water onto the soil, slowly, until it runs out of the drainage holes.
What it does well
- It is quick, and you can see how much each plant gets.
- It flushes the soil. Water passing through carries away excess minerals and fertilizer salts that build up over time.
- It wets the whole pot when done slowly and thoroughly.
Where it goes wrong
- If the soil is very dry and has shrunk from the pot's edge, water can run down the gap and out of the bottom without wetting the root ball.
- It splashes leaves and crowns, which some plants dislike, such as African violets and plants with a tight rosette.
- A constantly wet soil surface can attract fungus gnats.
- Pouring too fast or too little leaves parts of the pot dry.
To do it well: water in stages. Pour a little, wait a minute for it to soak in, then pour more until water drips from the bottom. Empty the saucer afterwards.
Bottom watering
Here you stand the pot in a sink, a bowl or a tray of water and let the soil draw water up through the drainage holes. The water climbs through the soil by capillary action, the same effect that lets a paper towel soak up a spill.
It only works with a pot that has drainage holes.
How to do it
- Fill a basin, sink or deep tray with 2 to 5 cm (1 to 2 inches) of room-temperature water.
- Set the pot in it.
- Wait 10 to 30 minutes. Small pots may be ready within 10 minutes, big, dry ones can take longer.
- Check by touching the top of the soil. When it feels damp, the pot has had enough.
- Lift the pot out and let it drain for 10 minutes or so, then put it back in its saucer or cache pot.
Do not leave a pot standing in water for hours. Roots need air, and a pot that sits soaked for a long time can cause the very rot you are trying to avoid.
What it does well
- It wets the whole root ball evenly, which is why it works so well on soil that has dried out completely.
- It keeps leaves, crowns and flowers dry, which suits African violets, cyclamen and many succulents.
- It leaves the surface of the soil drier, which can make life harder for fungus gnats.
- It is gentle on seedlings and cuttings.
Where it does not help
- Pots with no drainage hole.
- Very large, heavy pots that are hard to lift.
- Very dense, compacted soil, which can be slow to take up water.
- Any plant that needs a flush, which brings us to salts.
The catch: salt build-up
When you water from above, minerals and fertilizer salts are carried down and flushed out of the pot. When you water from below, the water moves up and evaporates at the surface, and the dissolved minerals stay behind. Over time they gather at the top as a white or yellowish crust on the soil, or a ring on a terracotta pot.
A little is harmless. A lot can burn roots and brown the leaf tips. The fix is easy: every few waterings, give the plant a good top watering, enough that water runs freely out of the bottom, to wash the salts through. If you fertilize, this matters even more, and our fertilizing guide explains what to do when salts build up.
Which plants suit which
| Situation | A good fit |
|---|---|
| Soil has dried hard and water runs off | Bottom watering, to rewet it evenly |
| African violets and plants that hate wet leaves | Bottom watering |
| Plants with a tight rosette or crown | Bottom watering, or careful top watering |
| Fungus gnats in the soil | Bottom watering, with a drier surface in between |
| Plants you fertilize regularly | Top watering, with a flush now and then |
| Big floor pots, pots without holes | Top watering, slowly |
| Anything with a crust of salts on top | Top watering, to flush it |
A simple routine
You do not have to choose one forever. This works for most collections:
- Check first. Use the finger or weight test from the watering guide. Water only when the plant is ready.
- Use bottom watering as your usual method for small and medium pots with drainage, especially for plants that dislike wet leaves, or for any pot that has dried out.
- Top water thoroughly every third or fourth time, until water pours out of the bottom, to flush salts. Do it in the sink and let it drain fully.
- Always empty saucers after about half an hour.
- Switch to top watering for any pot you cannot lift or that has no drainage hole.
If you prefer to stick with top watering, that is fine too. Just do it slowly and thoroughly, and take extra care with a pot that has dried right out, where soaking from below once can help it take up water again.
A word about self-watering pots
Some pots have a built-in reservoir at the bottom, and the soil draws water up from it, much like bottom watering. They can be handy for plants that like steady moisture, but it is still worth checking the soil, and flushing the pot from the top now and then so salts do not collect. Let the reservoir run empty occasionally so the roots get some air.
Common mistakes
- Leaving a pot in water for hours, or overnight.
- Bottom watering a pot with no drainage hole, so the water cannot rise.
- Never flushing, so salts pile up.
- Using cold water from a cold tap on a plant that is used to a warm room.
- Watering because it is "the day", when the soil is still damp.